Difficulty
Moderate
Steps
11
Time Required
01:00:00
- Z Axis Carriage Assembly 11 steps

User-Contributed Guide
This guide is not managed by the site's staff.
Quiz
0
-
-
2 x M3n nuts
-
10 x M3nS nuts
-
6 x M3 12mm
-
2 x M3 20mm
-
4 x M3 40mm (2 missing from pic)
-
-
-
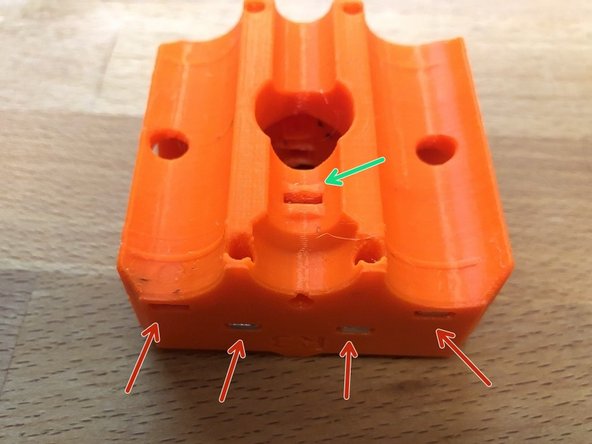
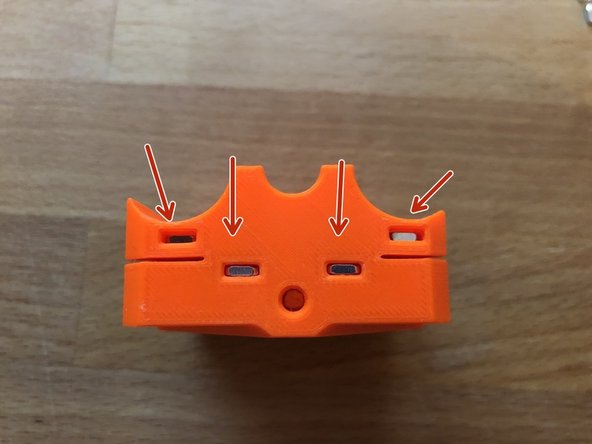
Insert 8 x M3nS in to the top and bottom of the z-carriage-front
-
Insert 1 x M3nS into the side of the z-carriage front
-
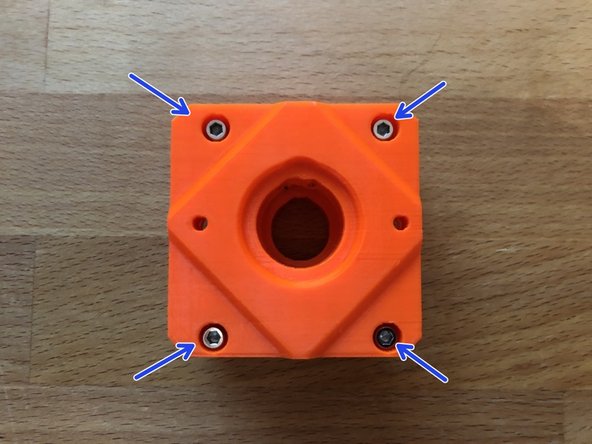
Insert 4 x M3 12mm into the front of the z-carriage-front.
-
-
-
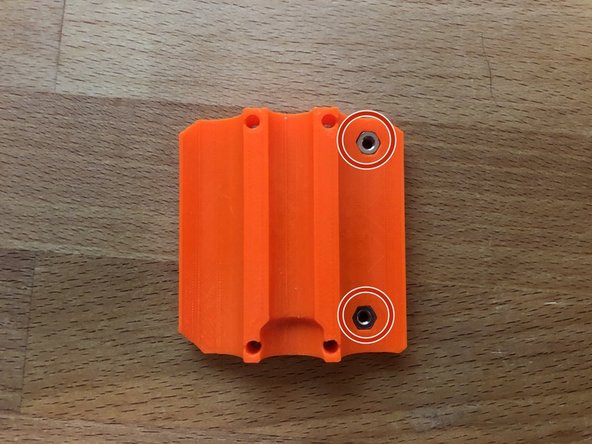
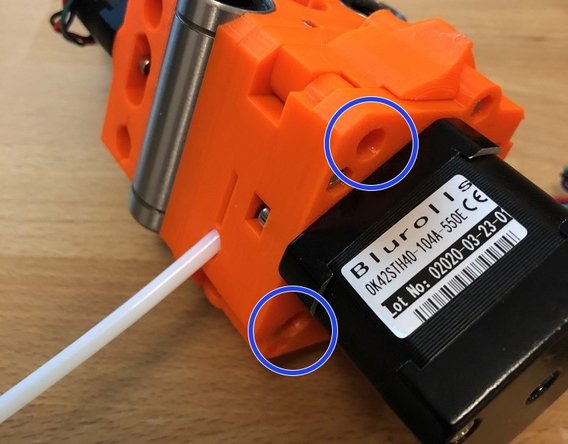
Insert 2 x M3n into the z-carriage-rear
-
Insert 1 x M3n into the z-carriage-rear
-
-
-
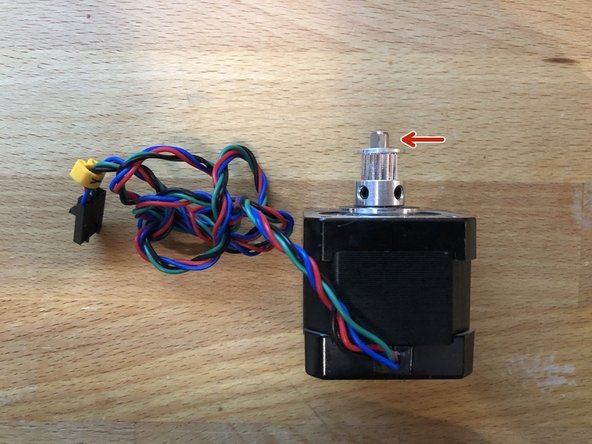
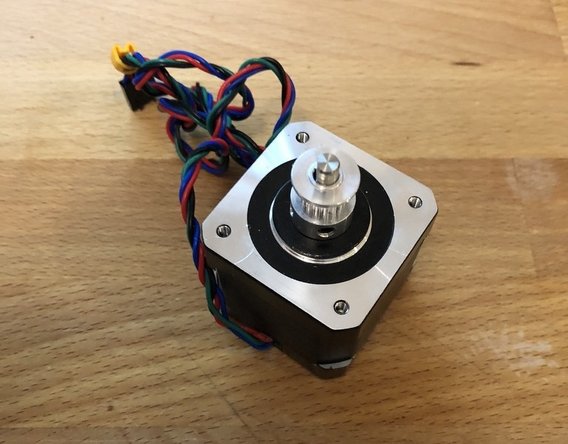
Secure the GT2-16 to the X stepper shaft, leaving 4.8mm of shaft exposed at the end.
-
Ensure one of the grub screws is aligned with the flat of the shaft.
-
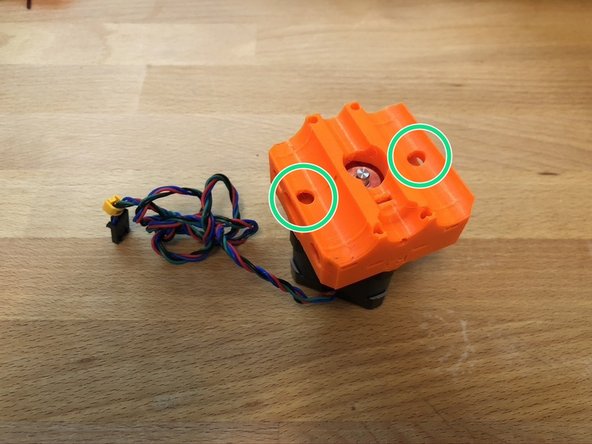
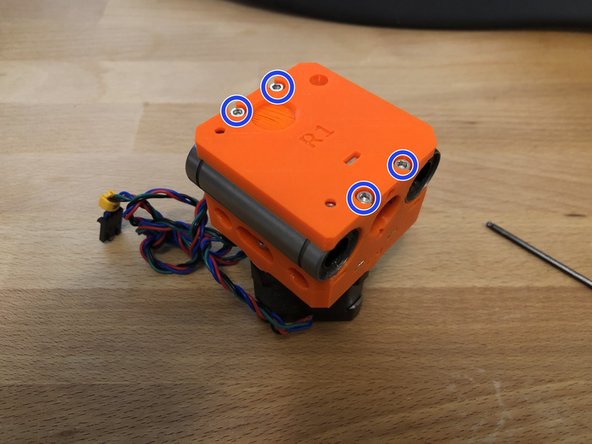
Attach the stepper to the z-carriage-front using 2 x M3 12mm screws.
-
-
-
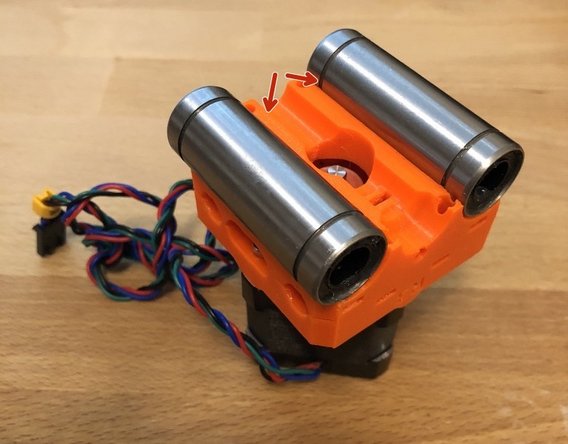
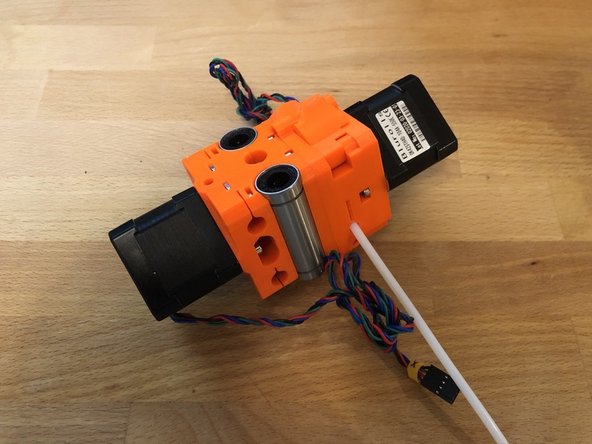
Place 2 x LM10LUU bearings on the z-carriage-front.
-
Place the z-carriage-back on top
-
Secure the z-carriage-back with 4 x M3 30mm
-
-
-
Using 2 x M3 20mm screws, attach the feed screw nut to the bottom of the z carriage assembly.
-
-
-
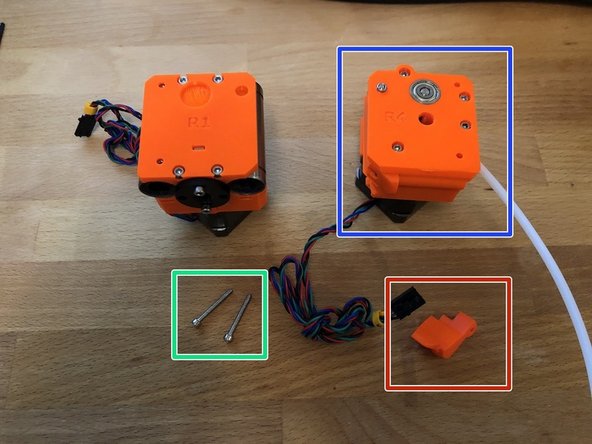
Place the extrude on the z carriage
-
Place the inspection window in the extruder
-
Using 2 x M3 25mm screws, attach the extruder to the z carriage.
-