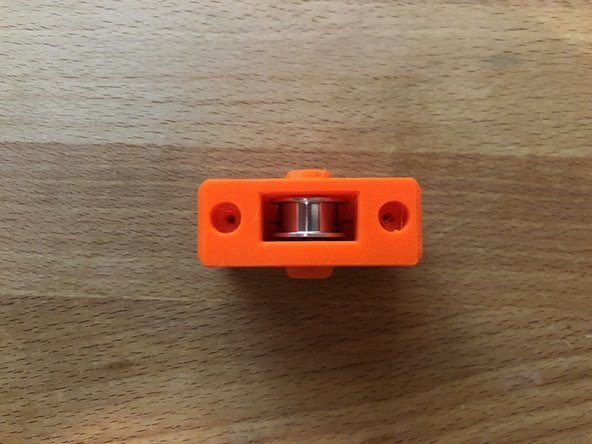
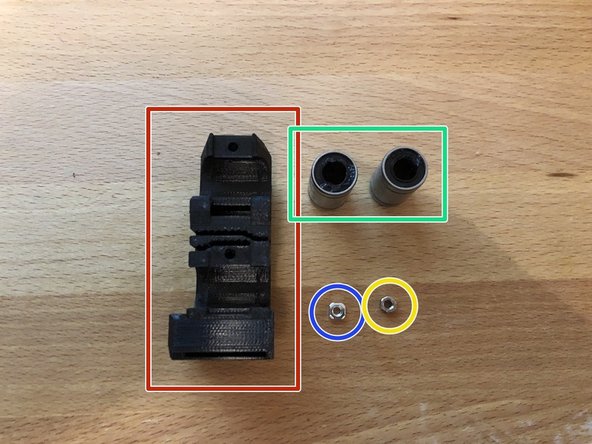
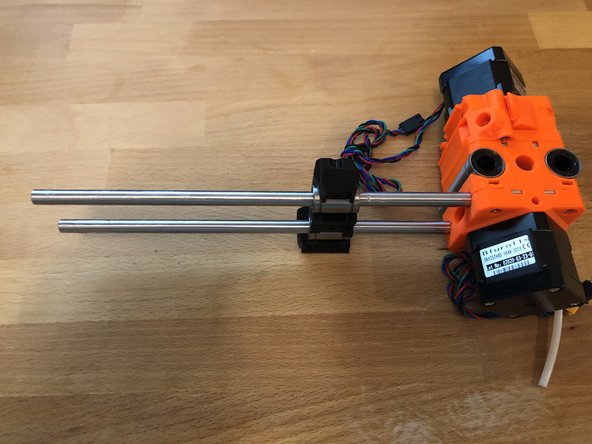
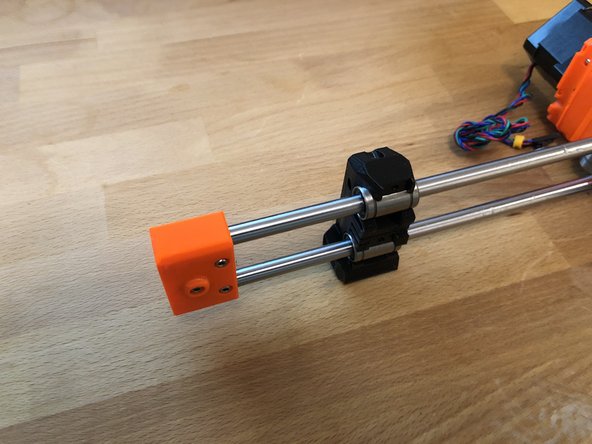
1. 2 x M3nS nuts 1 x M3n nyloc
    • 2 x M3nS nuts

    • 1 x M3n nyloc

    • 1 x M3 20mm

    • 1 x M3 12mm

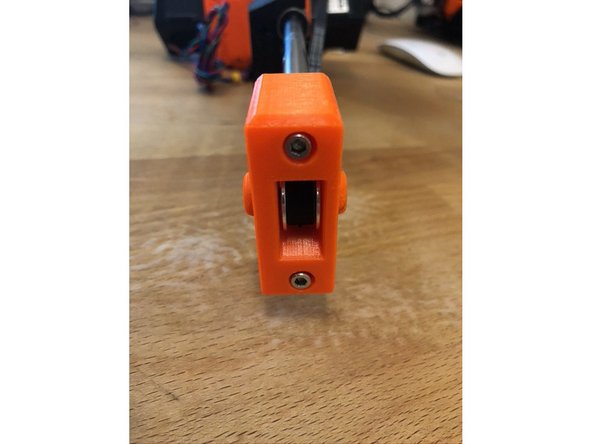
    • MINI-x-end

    • Pulley

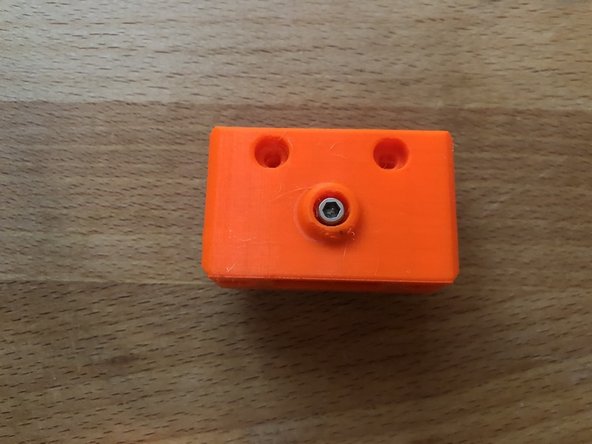
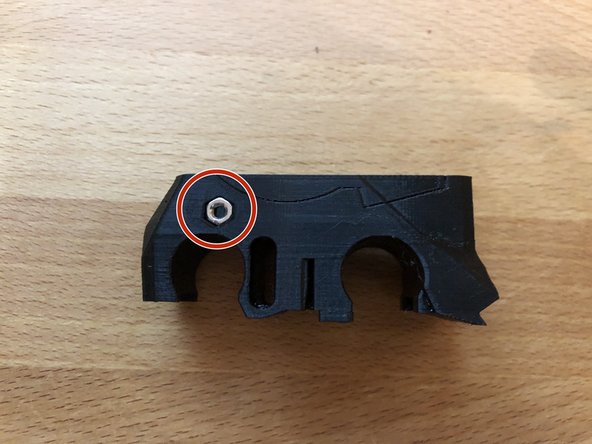
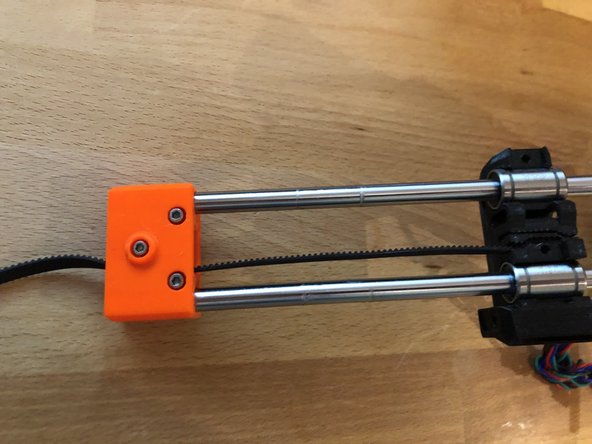
  2. Insert 2 x M3nS nuts into the X end Insert 1 x M3n nyloc into the X end Make sure you put it in the side with the hexagonal hole, not the round hole.
    • Insert 2 x M3nS nuts into the X end

    • Insert 1 x M3n nyloc into the X end

    • Make sure you put it in the side with the hexagonal hole, not the round hole.

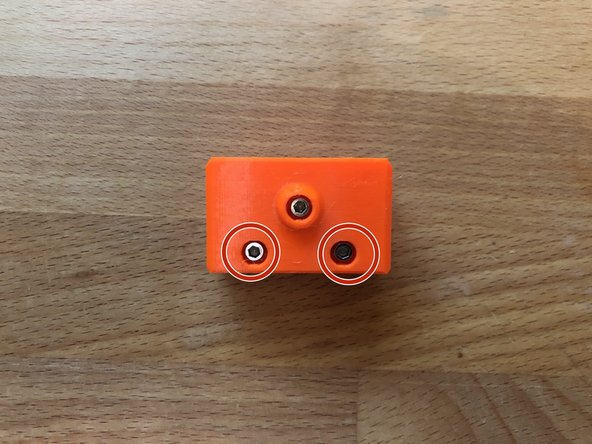
  3. Place pulley into X end Secure with 1 x M3 20mm
    • Place pulley into X end

    • Secure with 1 x M3 20mm

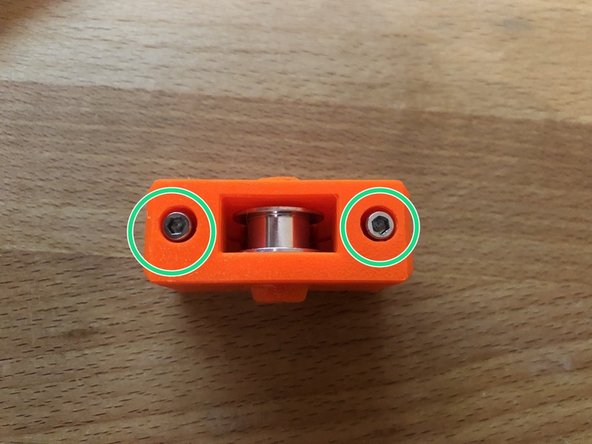
  4. Loosely fit 2 x M3 12mm screw into the holes on the side Insert 2 x M3 12mm screws into the end holes until flush with the plastic body.
    • Loosely fit 2 x M3 12mm screw into the holes on the side

    • Insert 2 x M3 12mm screws into the end holes until flush with the plastic body.

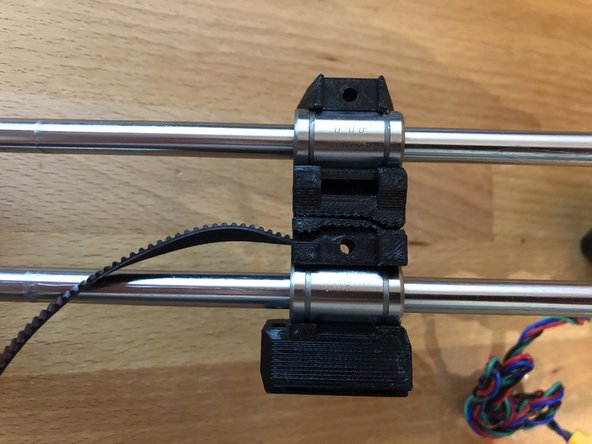
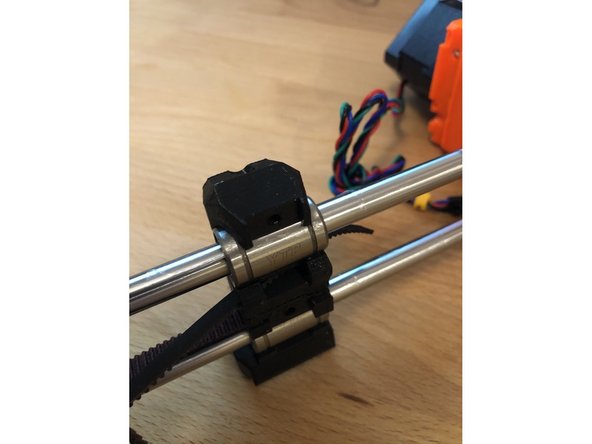
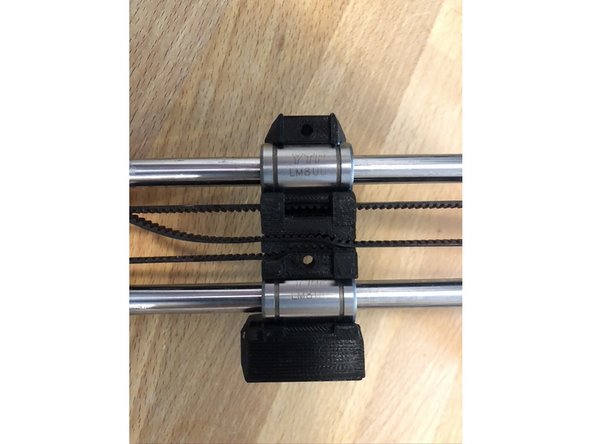
  5. MINI-x-carriage
    • MINI-x-carriage

    • 2 x LM8UU bearings

    • 1 x M3nS nut

    • 1 x M3n nut

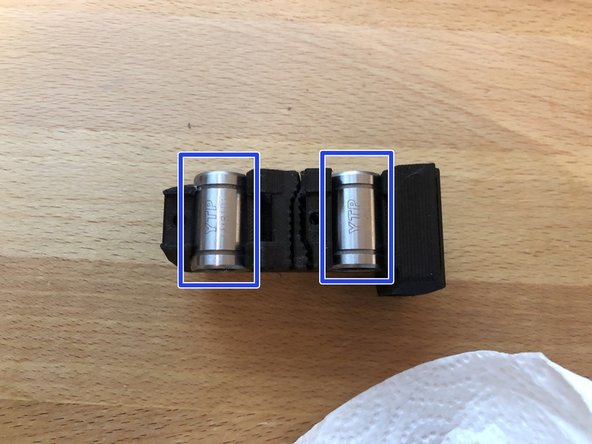
  6. Insert M3n nut into side of X carriage Insert M3nS nut into bottom of X carriage Insert 2 x LM8UU bearing into X carriage.
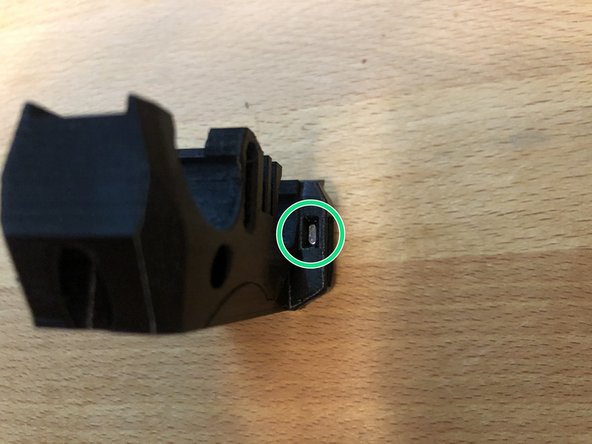
    • Insert M3n nut into side of X carriage

    • Insert M3nS nut into bottom of X carriage

    • Insert 2 x LM8UU bearing into X carriage.

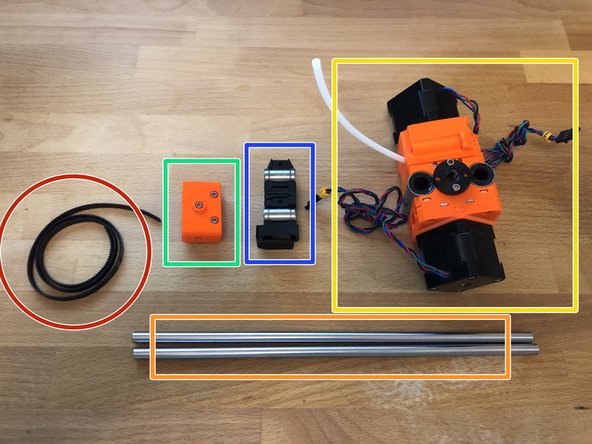
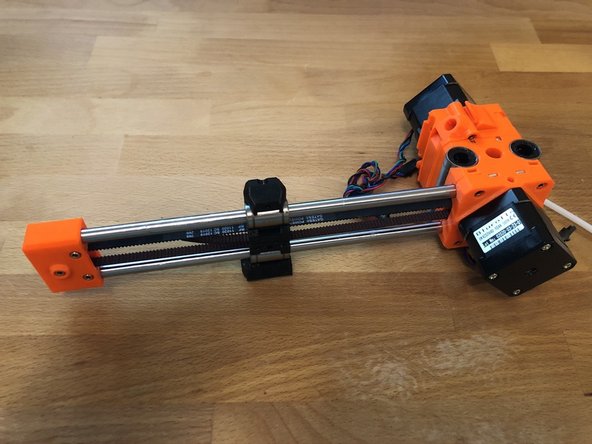
  7. 560mm belt
    • 560mm belt

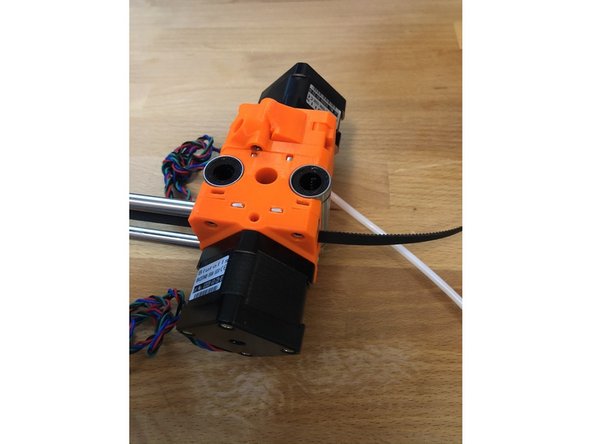
    • X end assembly

    • X carriage assembly

    • Z carriage and extruder assembly

    • 2 x 279mm smooth rods

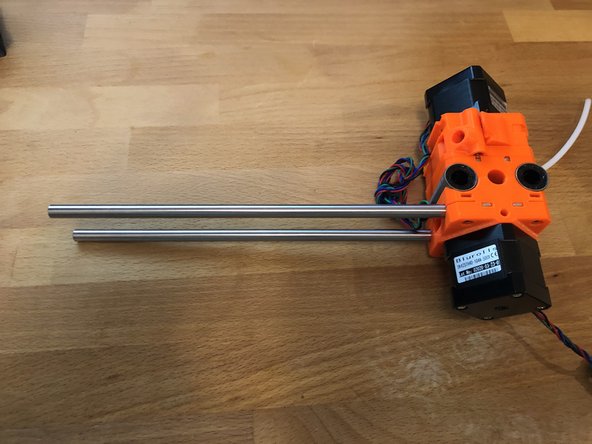
  8. Insert wisdom here. Insert wisdom here. Insert wisdom here.
    • Insert wisdom here.

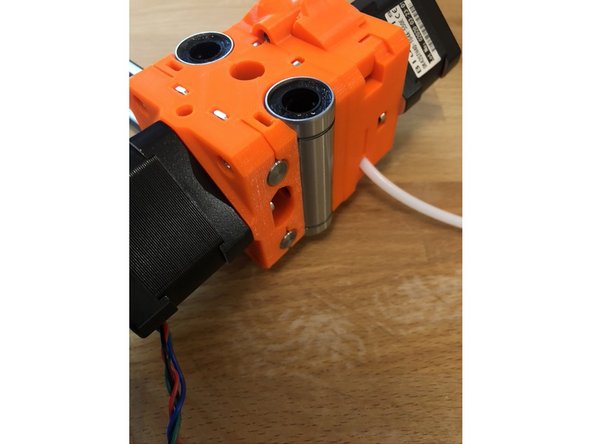
  9. Insert wisdom here. Insert wisdom here. Insert wisdom here.
    • Insert wisdom here.

  10. Eat some GummiBärchen.
    • Eat some GummiBärchen.

Finish Line
Tom Wilkie

Member since: 05/06/2020

830 Reputation

5 Guides authored

0 Comments

Add Comment

View Statistics:

Past 24 Hours: 0

Past 7 Days: 2

Past 30 Days: 5

All Time: 687